Proper playground installation is an involved process that ensures the safety of your playground. BYO Recreation and National Playground Construction (NPC) worked together to install a complete playground project for a new elementary school in St. Augustine, FL.
Playground Installation Step-by-Step
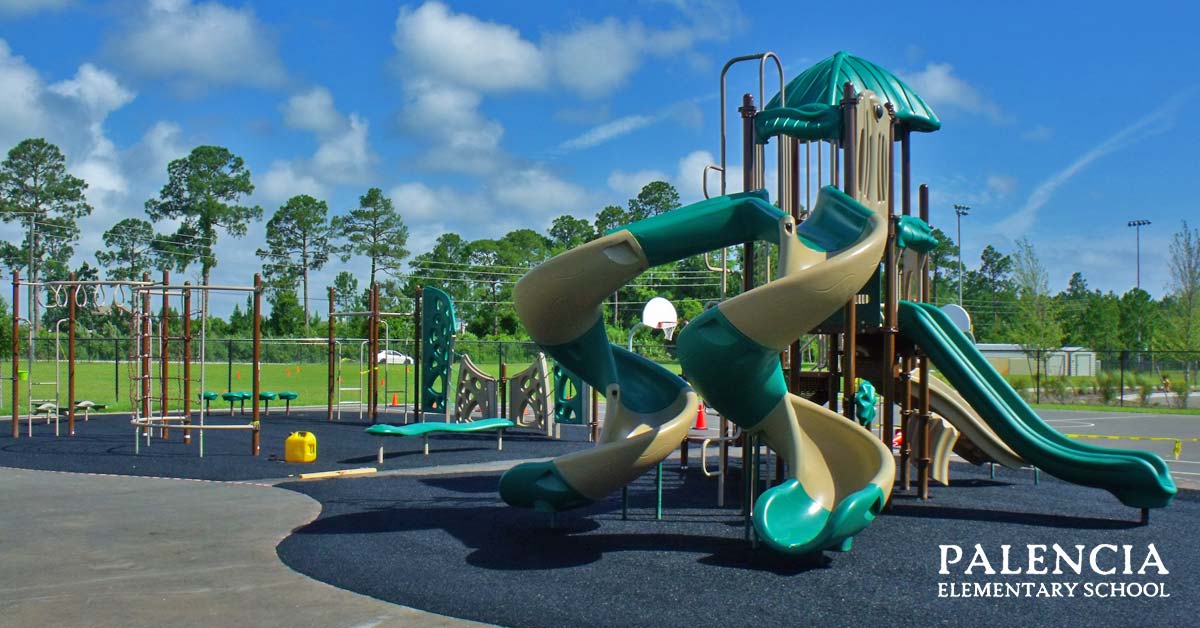
Palencia Elementary School took advantage of BYO Recreation’s playground savings! They purchased a Desert Oasis playground structure and a fitness structure. Because of the substantial savings they had left over due to our annual Quick Ship Sale, they were able to purchase poured-in-place safety surfacing with their school logo.
Moreover, professional playground installation ensures that the playground equipment is properly installed and meets safety requirements. BYO Recreation’s installers are certified in playground safety standards, so there’s no guess work.
The installation at Palencia Elementary took two weeks. One week was spent on the construction of the two playground structures. The second week was for the installation of the Poured-in-Place Safety Surfacing. Both jobs involved a lot of demanding and rigorous manual labor.
Playground Shipping
First, the playground equipment is shipped freight in crates and on pallets. A project manager will organize shipment times and sign-off for optimized efficiency. When the truck arrives at the playground site, the installers unload the equipment with a forklift or by hand. After unloading the equipment, the installers check that all parts are present and in perfect condition.
Arranging Equipment
Secondly, the installers lay out the equipment in the use zone, an essential step in the installation process. This is how the installers know where the holes are going to go and make sure the distances are correct in relation to the other equipment. They start with the core of the structure first and work outwards.
Afterwards, the installers use an auger to dig the holes in the asphalt. This will enable them to install the posts in the ground with concrete. The concrete set overnight, then the installers began to lay the decks and other play components.
Playground Surfacing Installation
Once the playground is fully constructed, the Poured-in-Place installers begin the process of marking out the area. First, they start with mixing the rubber with glue and laying it out.
Next, they lay a thick base coat. For the space at Palencia, this took about two days including dry time. Lastly, they lay out the top coat, allow it to dry and then they will incorporate the pirate ship design. Poured-in-place surfacing mix must be temperature controlled, so this was a great project for Florida weather. Poured-in-place will not cure properly in colder temperatures.
Learn More About Playground Installation
Finally, to see photos of other completed playgrounds visit the BYO Recreation’s Gallery page. To learn more about BYO Recreation, NPC and professional playground installation call